Monthly Archives: January 2016

photo-of-the-day

farm-romance-6654

sitzmarks

Kids make them.

Photo by Loadmaster (David R. Tribble) via Wikimedia Commons

Dogs make them.

Photo by Martina Rathgens via Flickr.com

Tigers …

Photo by William Pitcher via Flickr.com

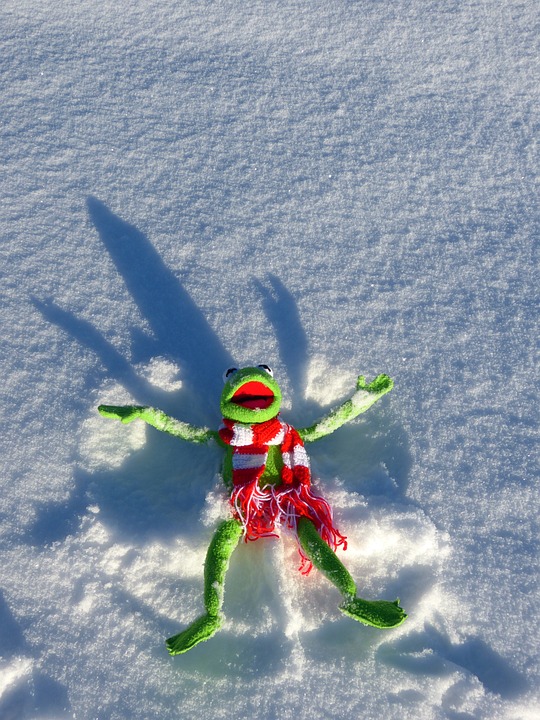
and even frogs (?!) make them.

Photo by LoggaWiggler via Pixabay

Snow angels, you say?

Well, yes, but every angel begins with a … ?

sitzmark.

Yup, sounds just like it looks.

A sitzmark is a depression made by someone falling backward into the snow. The term stems from the German word sitzen (to sit).

I’m partial to the pretty ones left by birds, like this one:

Photo by U.S. Fish and Wildlife Service Headquarters via Wikimedia Commons

P.S. Remember this cute pic of my Meggie making her (sitz)mark last winter?


photo-of-the-day

Farm_Romance-7285-2

Dyeing for Color Merit Badge, Beginner Level

The adorable, always humorous MBA Jane is my way of honoring our Sisterhood Merit Badge program, now with 6,760 dues-paying members who have earned an amazing number of merit badges so far—9,508 total! Take it away, MBA Jane!!! ~MaryJane 

Wondering who I am? I’m Merit Badge Awardee Jane (MBA Jane for short). In my former life   

For this week’s Beginner Level Stitching and Crafting/Dyeing for Color Merit Badge, I was already a bit of an expert. I mean, I don’t like to brag or anything (“Toot toot!” That may or may not be the sound of my own horn.), but I have been dyeing for a long time now.

I’ve been a brunette, a strawberry blonde, a platinum bombshell, and every shade in between. I’ve had highlights and lowlights, frosted tips, and bleached roots. I’ve had Clairol and Garnier and L’Oreal. I’ve done …

Wait. That’s not what we’re going for?

Well, color me embarrassed.

(Get it? Color me?)
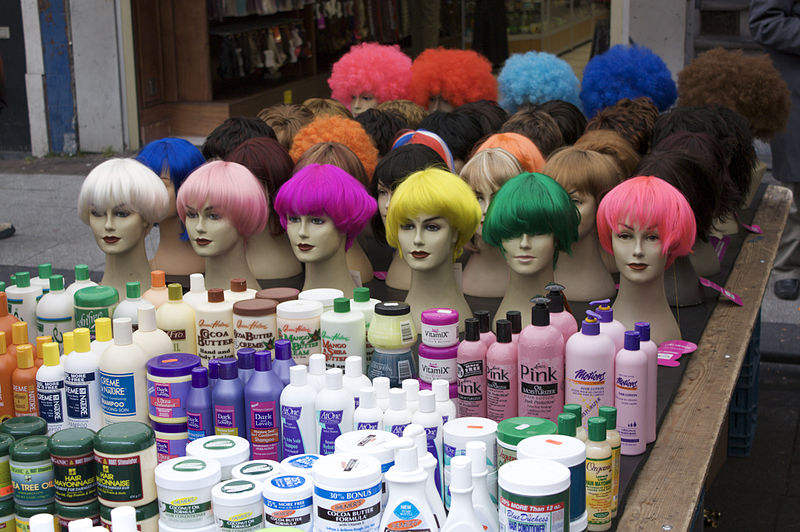
photo by jerebu via Wikimedia Commons

But I could still use my hair color know-how and safety lessons learned in my newfound adventure of dyeing other things besides my tresses. For example: preparing your workstation (or head). Always put on an old shirt that you don’t mind getting stained, and wear gloves, chickadees. Once I went Nicole Kidman-inspired red, and my palms were stained for days. It looked like I had murdered someone. I was housebound for a week, and by the time I could leave, my beautiful locks had faded to Carebear pink. Sigh. Learn from me.

Another precaution before you start playing around experimenting responsibly with dyes, is to choose products that won’t trigger a headache or stomachache, if you are prone to those niggles when an overwhelming odor assaults you. Or, if you must use a chemical-laden dye, do it outside. No one will appreciate your shade of chartreuse on your hand-dyed bedspread if you are face down in it halfway through the procedure, gasping for breath like a fish out of water.

For my first venture into the unknown of Dyeing for Color, I chose tea.

That’s right … tea. It’s not just for breakfast anymore.
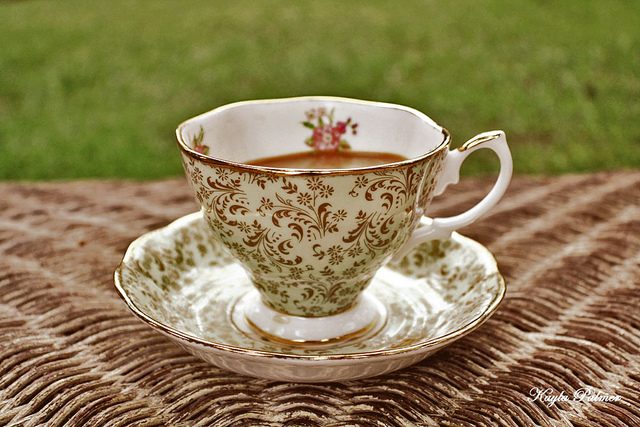
photo by Kayla Palmer via Flickr.com

I decided to dye a lovely, vintage lace tablecloth that had a roast chicken stain smackdab in the center. Up ’til now, I had simply plonked a vase of flowers right over the offending mark, but now I had a better plan. Color the whole thing Roast Chicken Drippings.

Side note: Crayola should probably hire me as a color namer. I’m really good at it. Some of the others I’m working on: Wet Seagull, Glistening Pepperoni, Vampire Skin, and Tuna Noodle Casserole Surprise.

Anyway, I was hesitant to use a good-quality tea for something that wouldn’t involve guzzling it, but then I remembered if you are cooking with wine, you should use a wine you’d like to drink. So, I figured the same rule applied here, right? So, I poured myself a glass of wine and got to work. Hee hee.

I brewed up a very large batch of Earl Grey, mixed with Oolong and just a sprinkling of Constant Comment. Your tablecloth may not be so particular, so go with your gut. Darker teas will, of course, dye your fabric a darker color, but don’t worry, even Turkish coffee won’t turn your fibers jet black.

I swirled my tablecloth around in the tea, making sure it was properly submerged and tucking it in gently. Then I left it for about 60 minutes. You can go longer or shorter; just keep checking on your fabric.

Rinse and wring out. If you don’t like the smell of tea, you can wash it out. Although, if you don’t like the smell of tea, well, there’s not a whole lot anyone can do for you.

Line dry, and enjoy your pretty new creation.

Now my tablecloth is less Roast Chicken Drippings, and more Recently Bathed Golden Retriever.

Seriously. Someone get Crayola on the line. I’m on fire.

photo-of-the-day

farm-romance_6387

Zentangle Quilting

With a brand-spankin’ New Year upon us, it’s the perfect time to explore new creative frontiers while honoring artistic traditions that have led us this far.

What do I have in mind, you wonder?

Well, you may remember how I told you about Zentangle, the addictive art of zany (yet so very Zen) doodling.

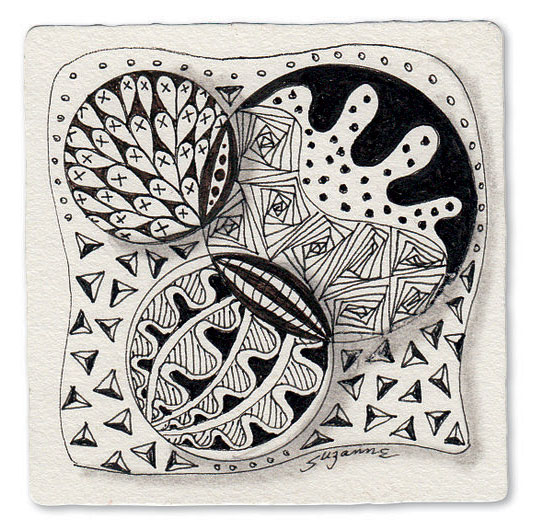
Image by Trinity Verlag in der Scorpio Verlag GmbH & Co.KG via Wikimedia Commons

(If this doesn’t ring a bell, hop over to this post.)

True to form, each time I swirl and squiggle lines on paper, I find myself fantasizing about fabric, which inspired me to poke around a bit into the idea of Zentangle quilting, and wouldn’t you know it?

It’s a real thing.

And it’s just as neat-o as I’d imagined.

Just look at Quilt Zentangle Style! on Pinterest (warning: you might start drooling).

Since I have a feeling you’re already itchin’ to start stitchin’, I gathered up this little list of goodies to get you going:

Book: Tangle Stitches: For Quilters and Fabric Artists by Jane Monk

You can buy it on Amazon, but you can’t “look inside” like you can on many other books. Here’s a video flip-through to preview the wonders within:

Video Tutorial: Zentangle Quilting by Machine


Blog Tutorial:
Zentangle Quilt Tutorial from Zany Quilter

Share your results on the Farmgirl Connection to inspire the rest of us!

photo-of-the-day

farm-romance_4294

MaryJanesFarm Review

Look what we found …

Jennifer Prior, of Flagstaff, Arizona, is sharing her ultra-cute excitement about our magazine.

Thanks, Jennifer!

Visit Jennifer’s blog, My FlagStaff Home, to follow her adventures.

photo-of-the-day

farm-romance_2942

Young Cultivators Merit Badge: All Tied Up, Beginner Level

The adorable, always humorous MBA Jane is my way of honoring our Sisterhood Merit Badge program, now with 6,760 dues-paying members who have earned an amazing number of merit badges so far—9,508 total! Take it away, MBA Jane!!! ~MaryJane 

Wondering who I am? I’m Merit Badge Awardee Jane (MBA Jane for short). In my former life   

For this week’s Young Cultivator Stitching and Crafting/All Tied Up Beginner Level Merit Badge, I spent some time with Nora, my ever-lovin’ and ever-talkative neighbor girl. She’s the artistic type (I can tell this by the mood swings and the way she dresses … very eccentric), so I knew she’d be perfectly swell for this particular badge.

For Nora to earn her Beginner Level badge, all we had to do was whip up a smock.

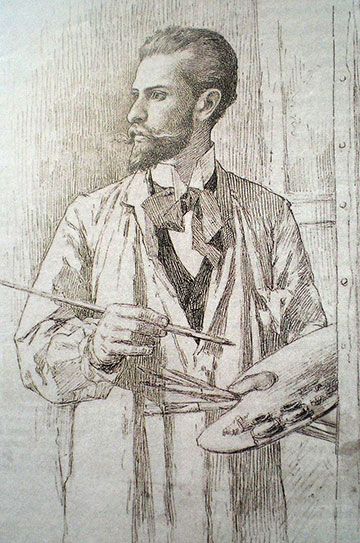
“No, not a snack,” I patiently replied to Nora, who sighed dramatically. “A smock. Smock? You know, like an artist’s apron?”

Self portrait of the Venezuelan painter Arturo Michelena, public domain via Wikimedia Commons

Empty eyes stared back at me. Goodness, this child.

She said she’d probably think better if she had a slice of cake. That seemed logical, I had to admit.

After our cake break, we got down to business. First, we made a list of all the different ways we could fashion our own DIY smock and then we narrowed it down to what we actually had on hand, because if we put off actually making our smock any longer it would be dinner time.

Jane and Nora’s Smock-ipedia

  • Adult sized T-shirt. To size it more kid-like: open up the seams at the side, cut strips and tie, or slit open the back, gather and tie.
  • Use oilcloth for a waterproof, wipe-able smock. To upcycle this idea without purchasing new oilcloth, just use an old vinyl tablecloth.
  • Men’s button-up shirts make great smocks: keep the collars and buttons, but cut off the sleeves and the whole back (use the sleeve material to make the apron ties).
  • Terry-cloth towels and ribbons: use the ribbons as a tie for around the neck and another for tying around the waist. Use hand towels for toddlers, and bath towels for larger kiddos (or messy adults).
  • Denim smocks: use an old pair of jeans. Cut off the legs and just use the tushy part with the back pockets. Attach a ribbon (or just use the leftover denim) at the top as a tie.
  • For a one-day only smock, or if you need a whole bunch of smocks for one use only: use a large paper grocery sack. Cut out a hole in the bottom for the head, and two at the sides for arms (think homemade ghost costume from a sheet). Can also use trash bags if you are doing an especially water-y craft, like painting.
  • Pillowcase smock: same directions as above.

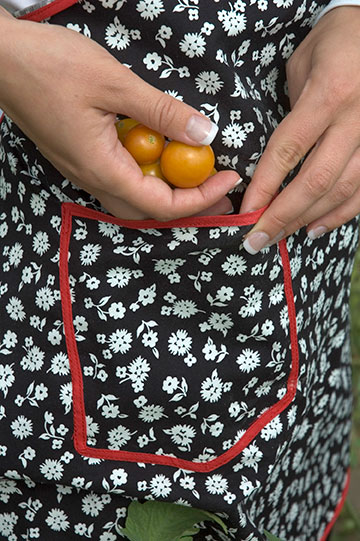
And don’t forget: whichever idea you choose, everything is better with pockets. I mean, where else can they put their pet frog, or their rock collection, or the last slice of cake?

tomato-apron

To make a pocket, simply fold the bottom hem of the smock over in a generous fold. Stitch at the sides. To make tiny pockets to hold individual paint brushes or crayons, make several straight stitches vertically throughout your large pocket with your sewing machine (if your Young Cultivator doesn’t know how to use a sewing machine yet, this is a perfect jumping off point).

Now, you’re ready for another cake break to decorate your smock and make it your own. You can:

  • Paint with waterproof fabric pens or paints.
  • Tie-dye it.
  • Applique it.
  • Sew on buttons.
  • Bedazzle it!
  • Add sequins or glitter with a glue gun (careful).
  • Stamp on it.
  • Write something fun with permanent markers.
  • Trim with lace, ribbon, or rick-rack.
  • Hot glue or sew on felt cutouts.
  • Googly eyes are always fun.

Nora, being of the philosophy that more is more and a girl can never accessorize too much, chose … all of the above.